Creating custom theme for HubSpot CMS
There are a lot of ways to build an online presence nowadays. Many services offers baked solution to do so. Many of them doesn’t require writing a single line of code. Services like Webflow, Wix, Elementor and Squarespace (and many more), allows you to setup a beautiful responsive website within several clicks. Most of them, however, put a gate somewhere if you really want to use the full service. For example, with Webflow, you can only connect to a custom domain after you become a paying member. Which by the way is totally reasonable.
HubSpot CMS (HubSpot from here on out) is also one of these service. One plus with HubSpot is that you don’t need to upgrade to a paid plan if you want to connect your own domain to the website. In addition to that, you can also use their CRM if you want. On top of that, in my opinion, it’s relatively easy to create custom solutions for HubSpot with a little bit of coding.
I would like to document how to get started wth creating custom theme for HubSpot CMS.
Setting up HubSpot CMS / Developer Environment
HubSpot has written very extensive and easy to follow documentation on how to get started with HubSpot CMS. There was where I started. Essentialy, you need to:
- create a HubSpot (normal) account or Developer Account. I would choose the Developer Account for now.
- set up your local development environment to connect the HubSpot account
Once the HubSpot account is setup, we can move on to checking the developer account is setup correctly. To do this, just type in hs --version if the hs cli is installed globally in the terminal or npx hs --version otherwise. If a version number is printed, then we’re good to go.
hs --version
5.0.2

npx hs --version
5.0.2
Generate HubSpot boilerplate theme
With HubSpot CLI installed, we can now generate a website theme based on the HubSpot CMS Boilerplate. I like to start by creating a folder with the name of the theme, in this case hat (HubSpot Alpine Tailwind) and then run the following command from inside the theme folder.
hs create website-theme .
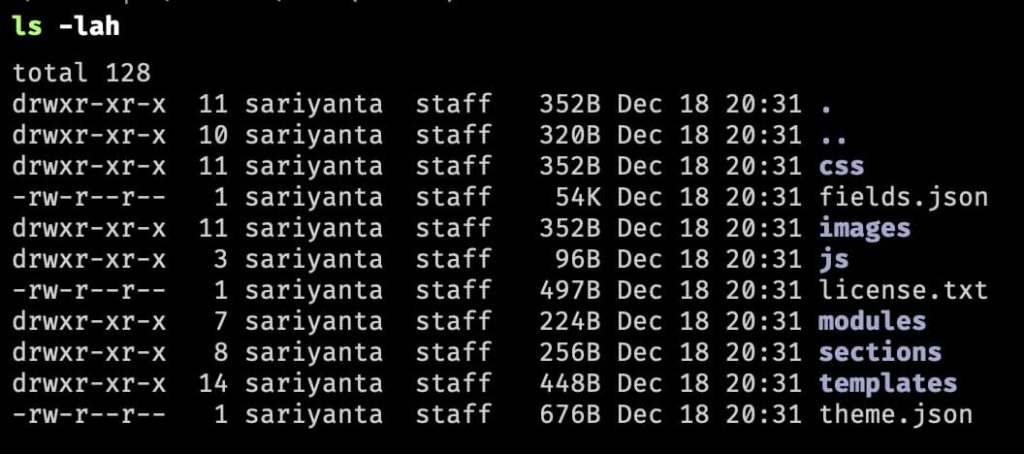
If all is good, the theme folder should have some files, something like these.
Connect the theme to the HubSpot account
To be able to see the theme at work, we need to connect our local dev environment with HubSpot. This can be done by generating a hubspot config with the cli. Follow the instructions on the terminal.
hs init
Please add hubspot.config.yml to .gitignore!
This will allow us to run several commands related to uploading, fetching or syncing (watch) files between local development and HubSpot.
# upload local files (content of current directory) to a folder name `directory-name` on HubSpot
hs upload . directory-name

# sync local files with hubspot
hs watch --remove . directory-name

# fetch files on hubspot to local directory
hs fetch directory-name .
Activate theme on HubSpot
The previous step should add the theme to HubSpot to be used to display content. Since nothing was modified in the theme, the name should be CMS theme boilerplate. To activate the theme go to Settings -> Account defaults -> Branding -> My brand kit -> Themes. Click on the Actions button -> Change theme. Set ‘CMS theme boilerplate’ as active theme.
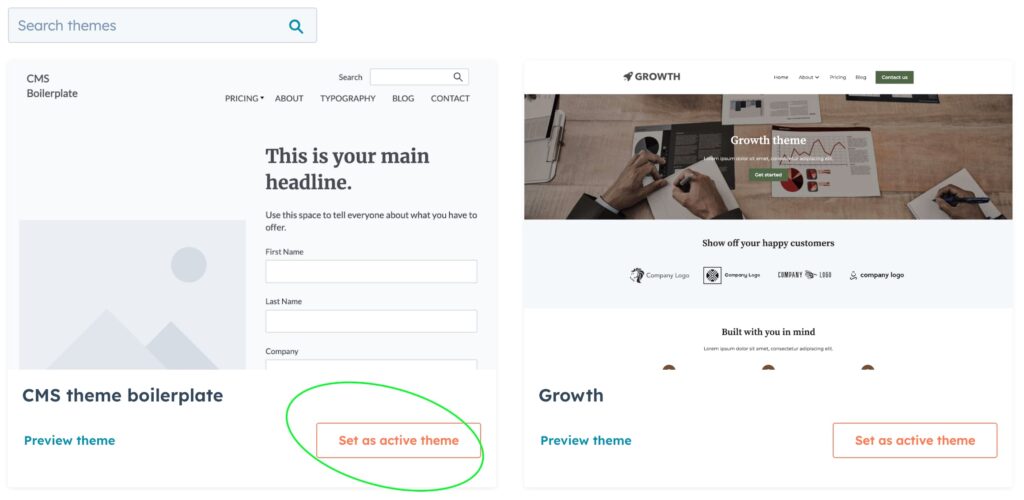
To preview how the theme looks like, click on Actions button again and select preview.
Conclusion
This is the first series of steps of many to create custom theme for HubSpot CMS.