Setting up Advanced Custom Fields
Advanced Custom Fields (ACF) is the most popular WordPress plugins to create custom fields and as of version 6.1, it also supports creating custom post types.
Installing ACF plugin is the same as installing any other plugins. The steps that I outlined in this post are absolutely not necessary to get ACF running with all its functionality. I do these things with my installation of ACF to improve the developer experience.
Activate local JSON
When acf-json directory is found in the root of the active theme, ACF will create json file containing information about a particular field groups or custom post type or any ACF entities. The creation or updates to these files will happen when they are saved in the ACF admin panel. This makes ACF loads faster and in addition to that, it also makes it possible to version control the fields settings.
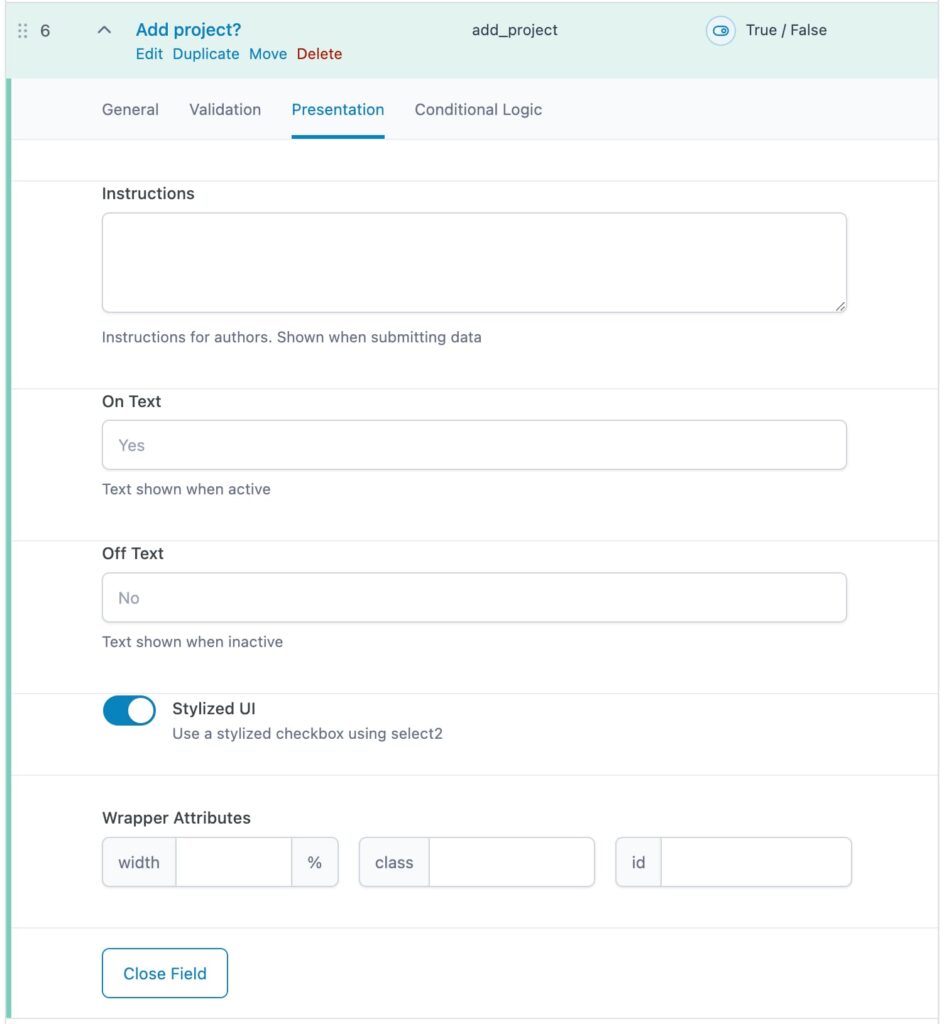
Use Stylized UI by default
Some field types in ACF has stylized ui that can be turned on in the presentation settings on the field. I like to set this by default since I always want to use the stylized ui for certain field types. In the code below, set the stylized ui to true (1) for the True/False and Select field. This saves me a few clicks.
/**
 * Use stylized ui by default.
 *
 * @param array $field The field array.
 * @return array The field array.
 */
function sariyanta_set_acf_ui_default( $field ) {
    $types = array( 'true_false', 'select' );
    if (
        in_array( $field['type'], $types, true ) &&
        array_key_exists( 'ui', $field ))
       ) {
	$field['ui'] = 1;
    }

    return $field;
}
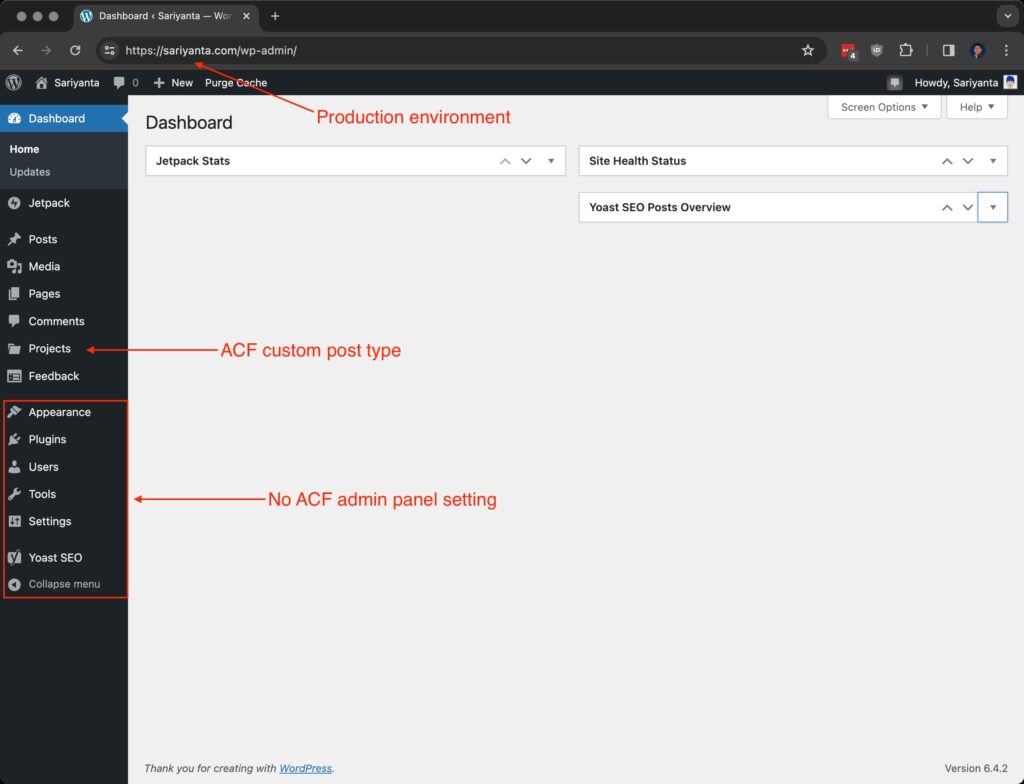
Disable admin panel on production
On production environment, I like to remove ACF admin panel to prevent me or other site administrator to make changes to the fields setting. If changes needs to be made to the fields setting, it should first be done on a staging or local environment to ensure that the changes wouldn’t break anything. Here are some of the many ways to achieve this.
Through environment variable
Create a .env file in your production environment in the root directory of the theme. Add variable to determine whether it’s in production or not. I name my variable ENV with value production. Then create a function to load this file in the theme functions.php.
The content of the .env file
ENV="production"Create a helper function to looad the .env file.
/**
 * Load environment variables from .env file.
 * return string
 */
function load_env() {
    $env = parse_ini_file( get_template_directory() . '/.env' );
    if ( ! empty( $env ) ) {
	return $env;
    }
    return false;
}
Hide admin panel based on the value of the ENV variable.
/**
 * Determine if ACF should be shown in admin.
 * If the environment is production, ACF should not be shown.
 * If the environment is not production, ACF should be shown.
 *
 * @return boolean
 */
function hide_admin_on_production() {
    $env = load_env();
    return ! isset( $env['ENVIRONMENT'] ) || 'production' !== $env['ENVIRONMENT'];
}

add_filter( 'acf/settings/show_admin', 'hide_admin_on_production' );
Define constant on wp-config.php
On the very top of the wp-config.php file on production, define a new constant; for example IS_PRODUCTION and set the value to true
<?php
/**
 * The base configuration for WordPress
 * ... the rest of the comments
 * @package WordPress
 */

define( 'IS_PRODUCTION', true );

// ** Database settings - You can get this info from your web host ** //
We can then use this in the 'acf/settings/show_admin' filter.
/**
 * Determine if ACF should be shown in admin
 * based on whether or not IS_PRODUCTION constant is defined
 * in wp-config.php
 *
 * @return boolean
 */
function hide_admin_on_production() {
    return !defined( 'IS_PRODUCTION' ) && IS_PRODUCTION !== true;
}

add_filter( 'acf/settings/show_admin', 'hide_admin_on_production' );
On Kinsta
Kinsta staging environment has certain constant defined in the website’s wp-config.php. Instead of creating a new one on the live environment, we can use Kinsta’s staging’s own constant.
Here’s what’s added automatically by Kinsta on the staging enviroment.
<?php
if ( !defined('KINSTA_DEV_ENV') ) { define('KINSTA_DEV_ENV', true); }
?>
We can then update the hide_admin_on_production to use this constant
function hide_admin_on_production() {
    return defined( 'KINSTA_DEV_ENV' ) && KINSTA_DEV_ENV === true;
}
This is the result:

Conclusion
These are so far the things that I always do when setting up ACF on websites I’m working on. They boost the developer experience and adds an extra layer of security to the fields settings on live production. Do you do these things as well? What would you add to the list?